Arduino PIR Motion Sensor Tutorial
PIR modules have a 3-pin connection at the side or bottom. The pinout may vary between modules so triple-check the pinout! It’s often silkscreened on right next to the connection (at least, ours is!) One pin will be ground, another will be signal and the final one will be power. Power is usually 3-5VDC input.
When object comes in detecting area it will return 1 from output pin otherwise it return 0.
The IR sensor itself is housed in a hermetically sealed metal can to improve noise/temperature/humidity immunity. There is a window made of IR-transmissive material (typically coated silicon since that is very easy to come by) that protects the sensing element.

(above pictures taken from adafruit industries.)
Required Components
- PIR Motion Detection Sensor
- Buzzer
- Arduino Uno R3 with cable
- Jumper Wire M to F x 5
- Jumper Wire M-M x3
Approx. Project Cost :
670/-(iotwebplanet.com)
Steps for Project:
Step 1:
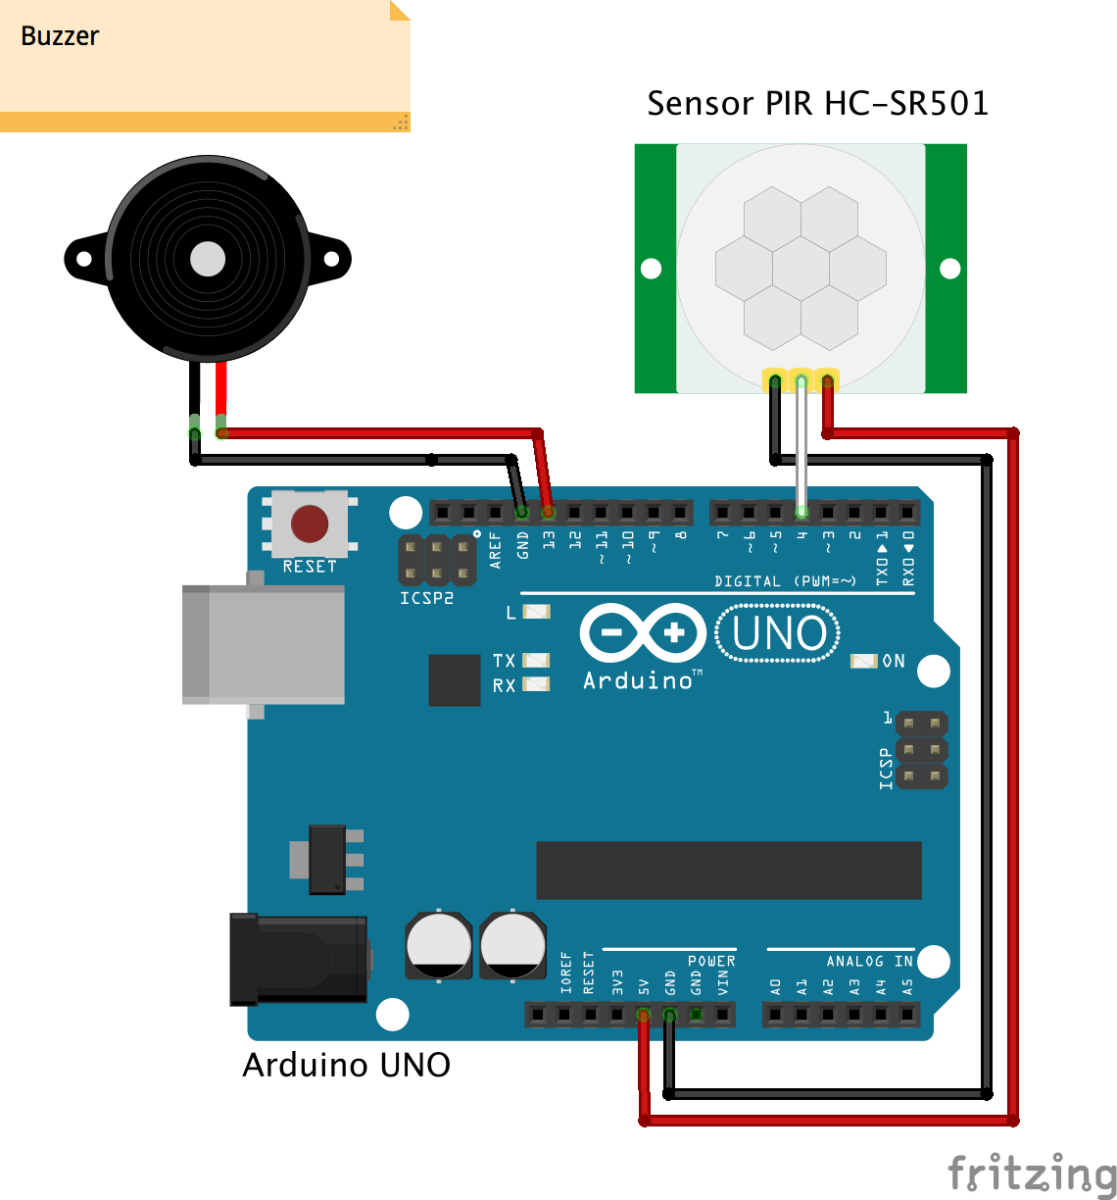
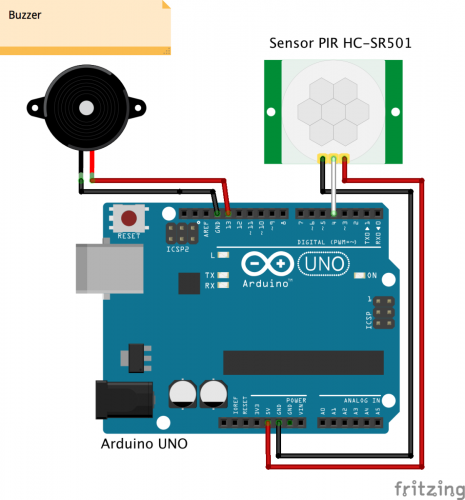
Connect sensor as per given picture.
Step2 :
copy and paste the code to your arduino IDE from : Full Code
Step3 :
connect your board
Step5 :
hit upload code.
some important function used in Project
- Serial.begin(9600); //for serial monitor initialisation on 9600 baudrate
- pinMode(sensor, INPUT); //for defining pinmode as sensor input.
- pinMode(buzzer, OUTPUT); //for defining pinmode of buzzer as output.
- digitalWrite(buzzer, HIGH); //putting buzzer on
- Serial.println(“Motion detected!“); // for printing text in serial console


Leave a Reply
You must be logged in to post a comment.